Intelli Docs
Webhooks
Send Intelli data to external systems, and let external systems trigger chatbot flows or template messages.
Webhooks connect Intelli to the rest of your stack. Manage them at Dashboard → Settings → Webhooks, which has two tabs: Outbound Webhooks (Intelli calls your systems) and Inbound Webhooks (your systems call Intelli).
Plan availability
Webhooks are included on the Enterprise plan. On other plans they are a $5/mo add-on; add the Webhook integration from Billing to unlock inbound and outbound webhooks. Without either, the Webhooks page shows an upgrade notice instead of the tabs.
Outbound webhooks: send data out
Outbound webhooks push data to external systems like your CRM, Make, or Zapier. Each endpoint you send to is a destination.
Adding a destination
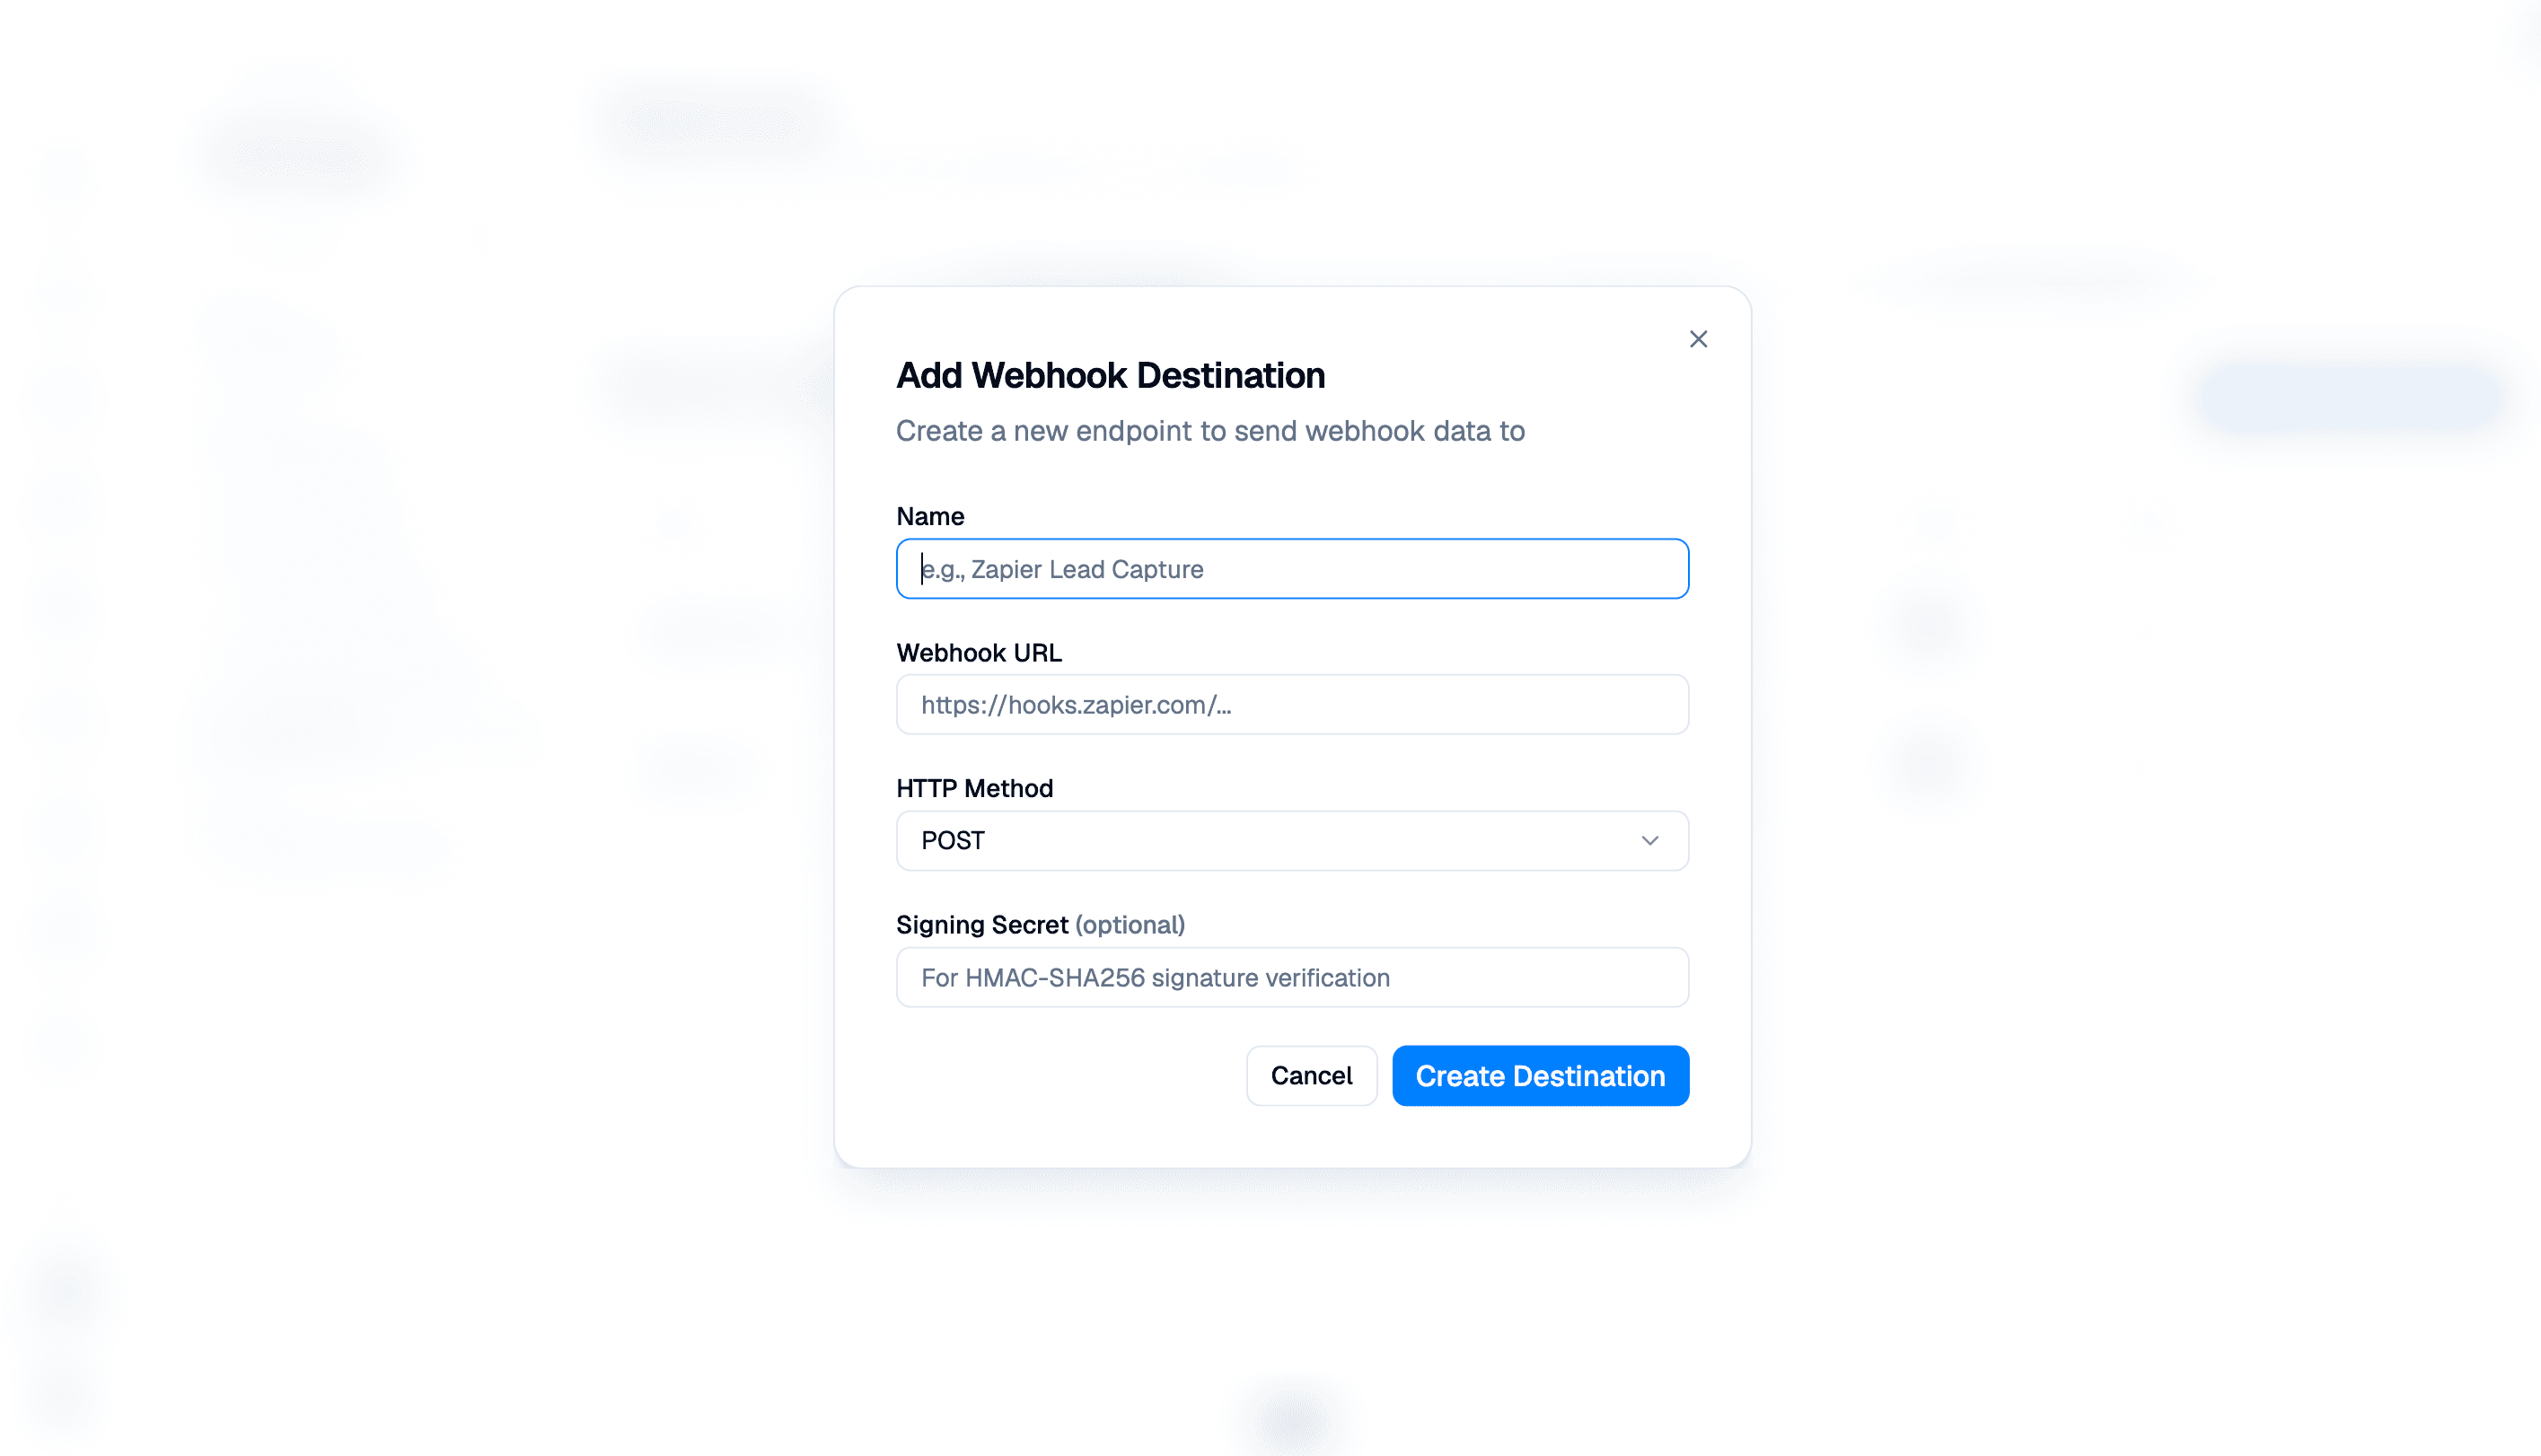
- On the Outbound Webhooks tab, click Add Destination.
- In the Add Webhook Destination dialog, fill in:
- Name: e.g. "Zapier Lead Capture".
- Webhook URL: the endpoint to call.
- HTTP Method: POST, GET, PUT, or PATCH.
- Signing Secret (optional): used for HMAC-SHA256 signature verification so the receiver can confirm the call came from Intelli.
- Click Create Destination.
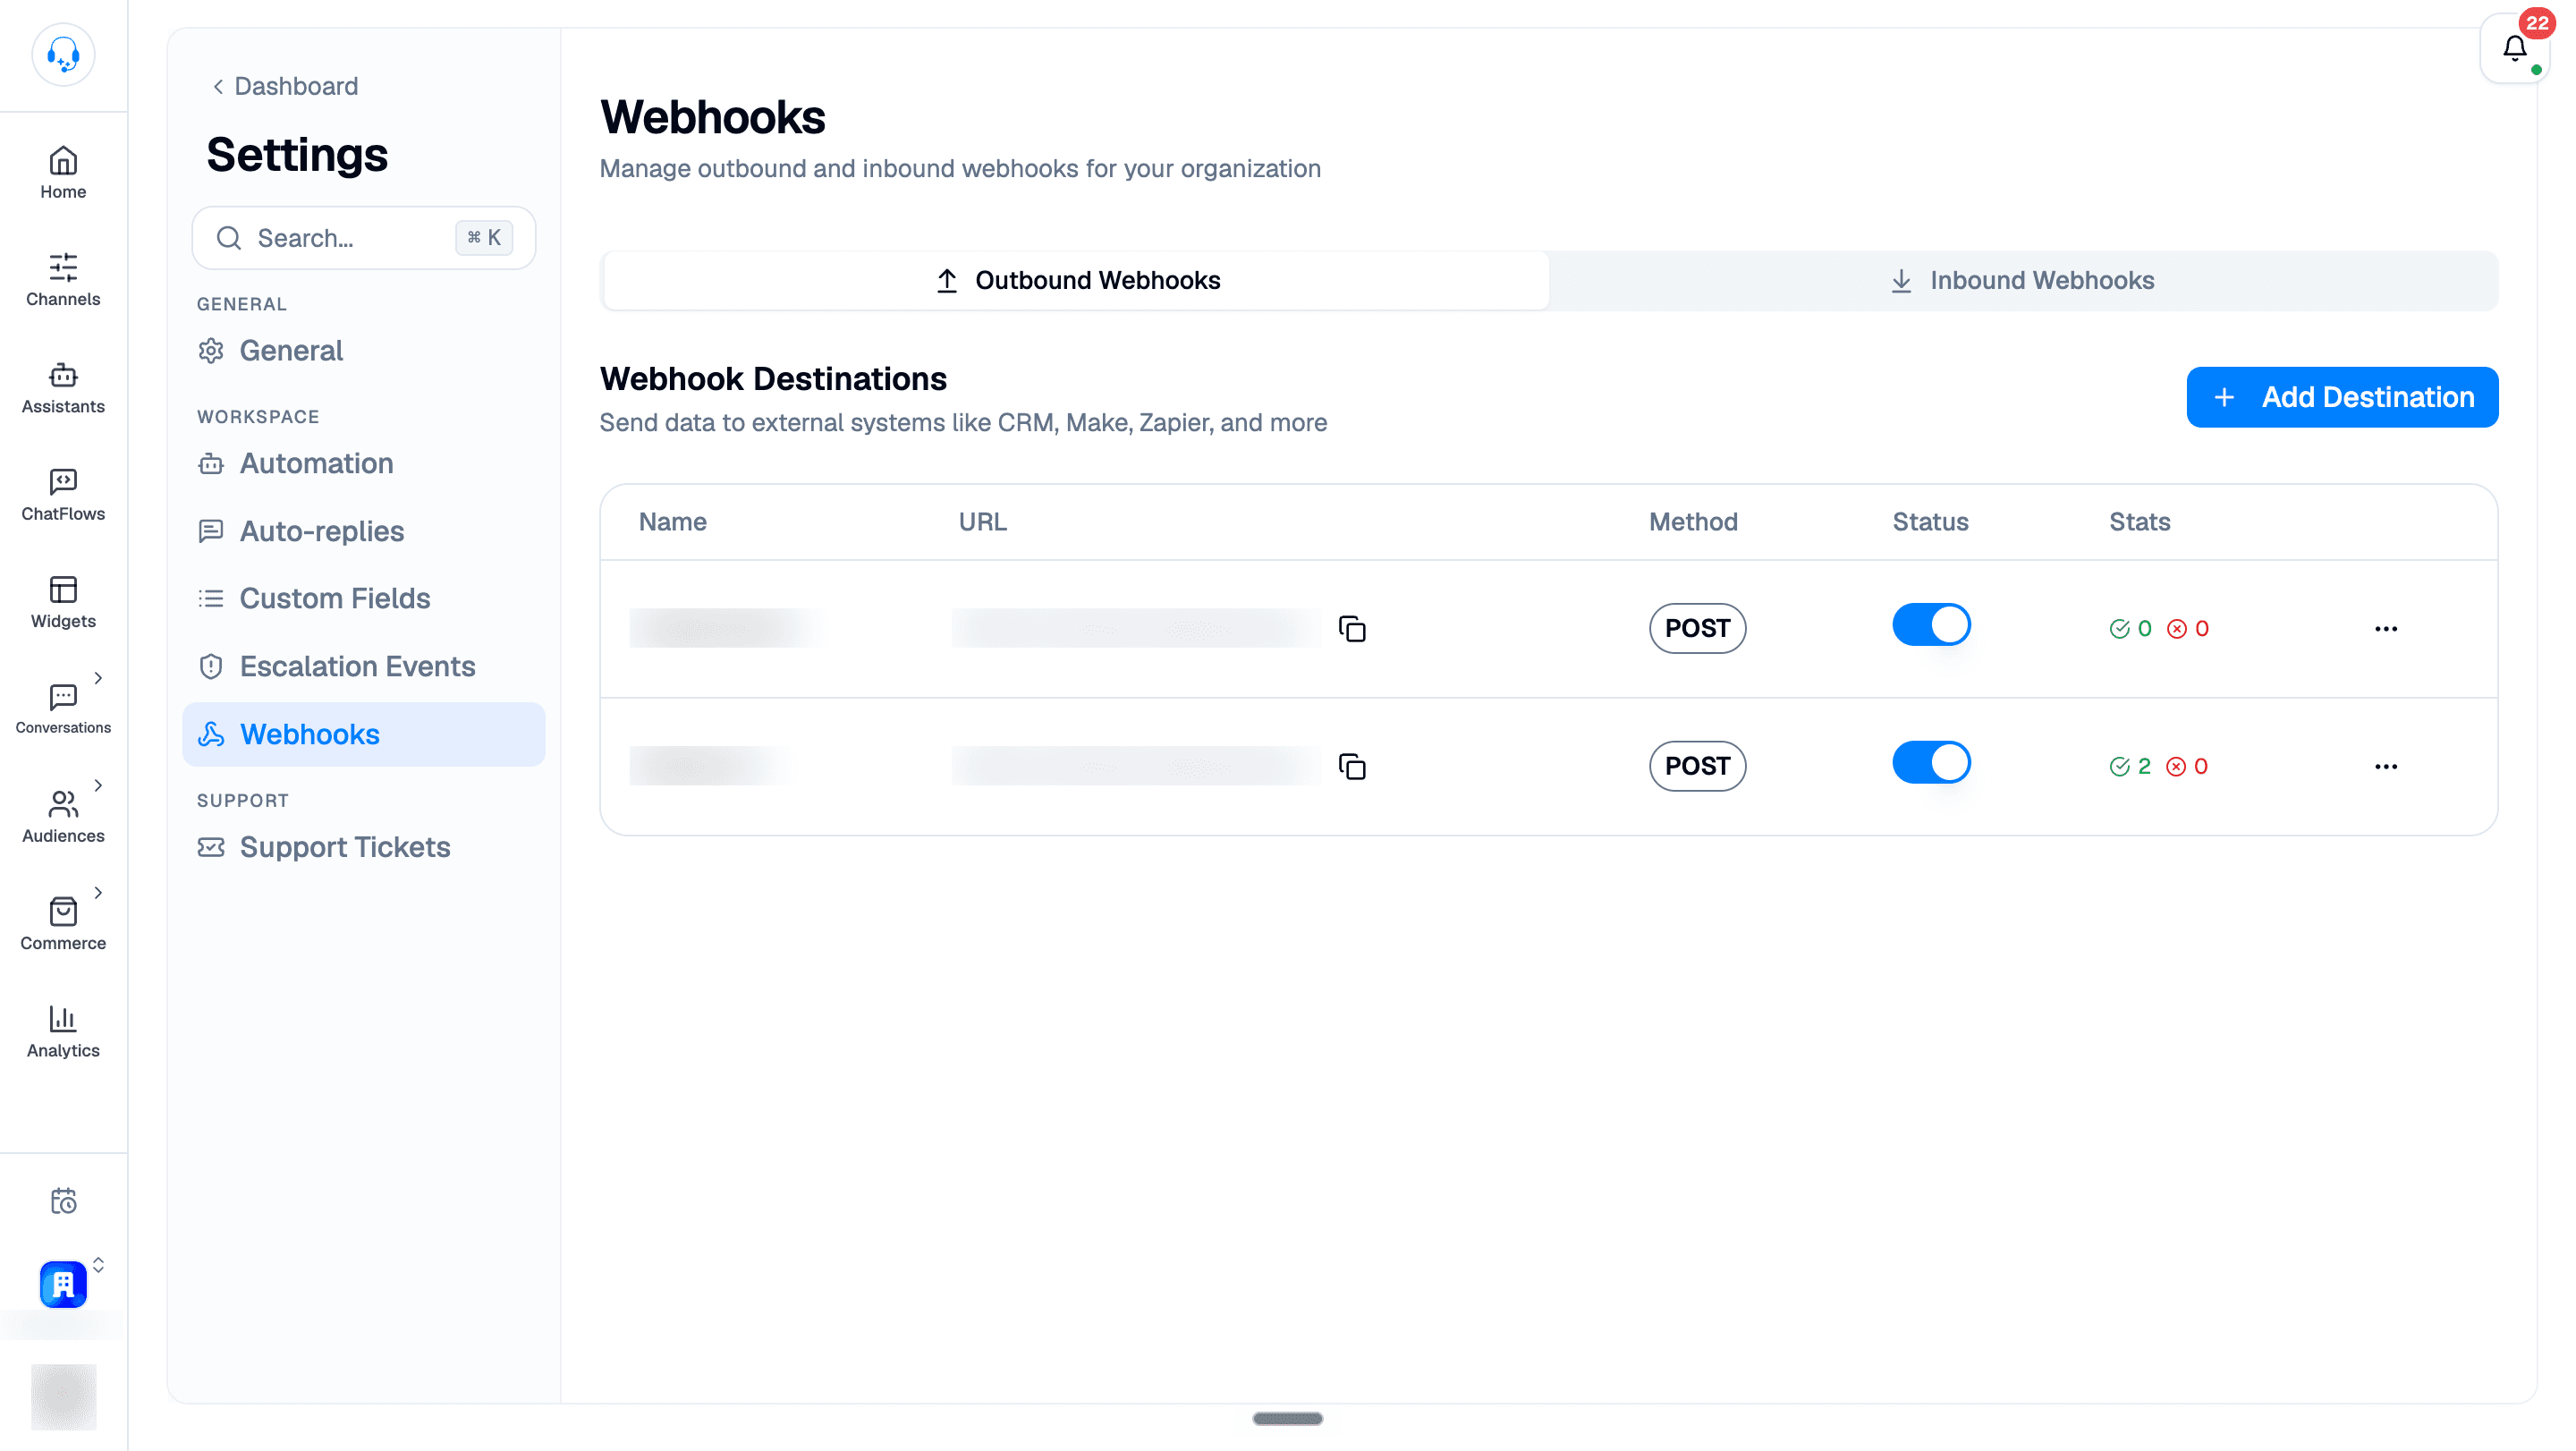
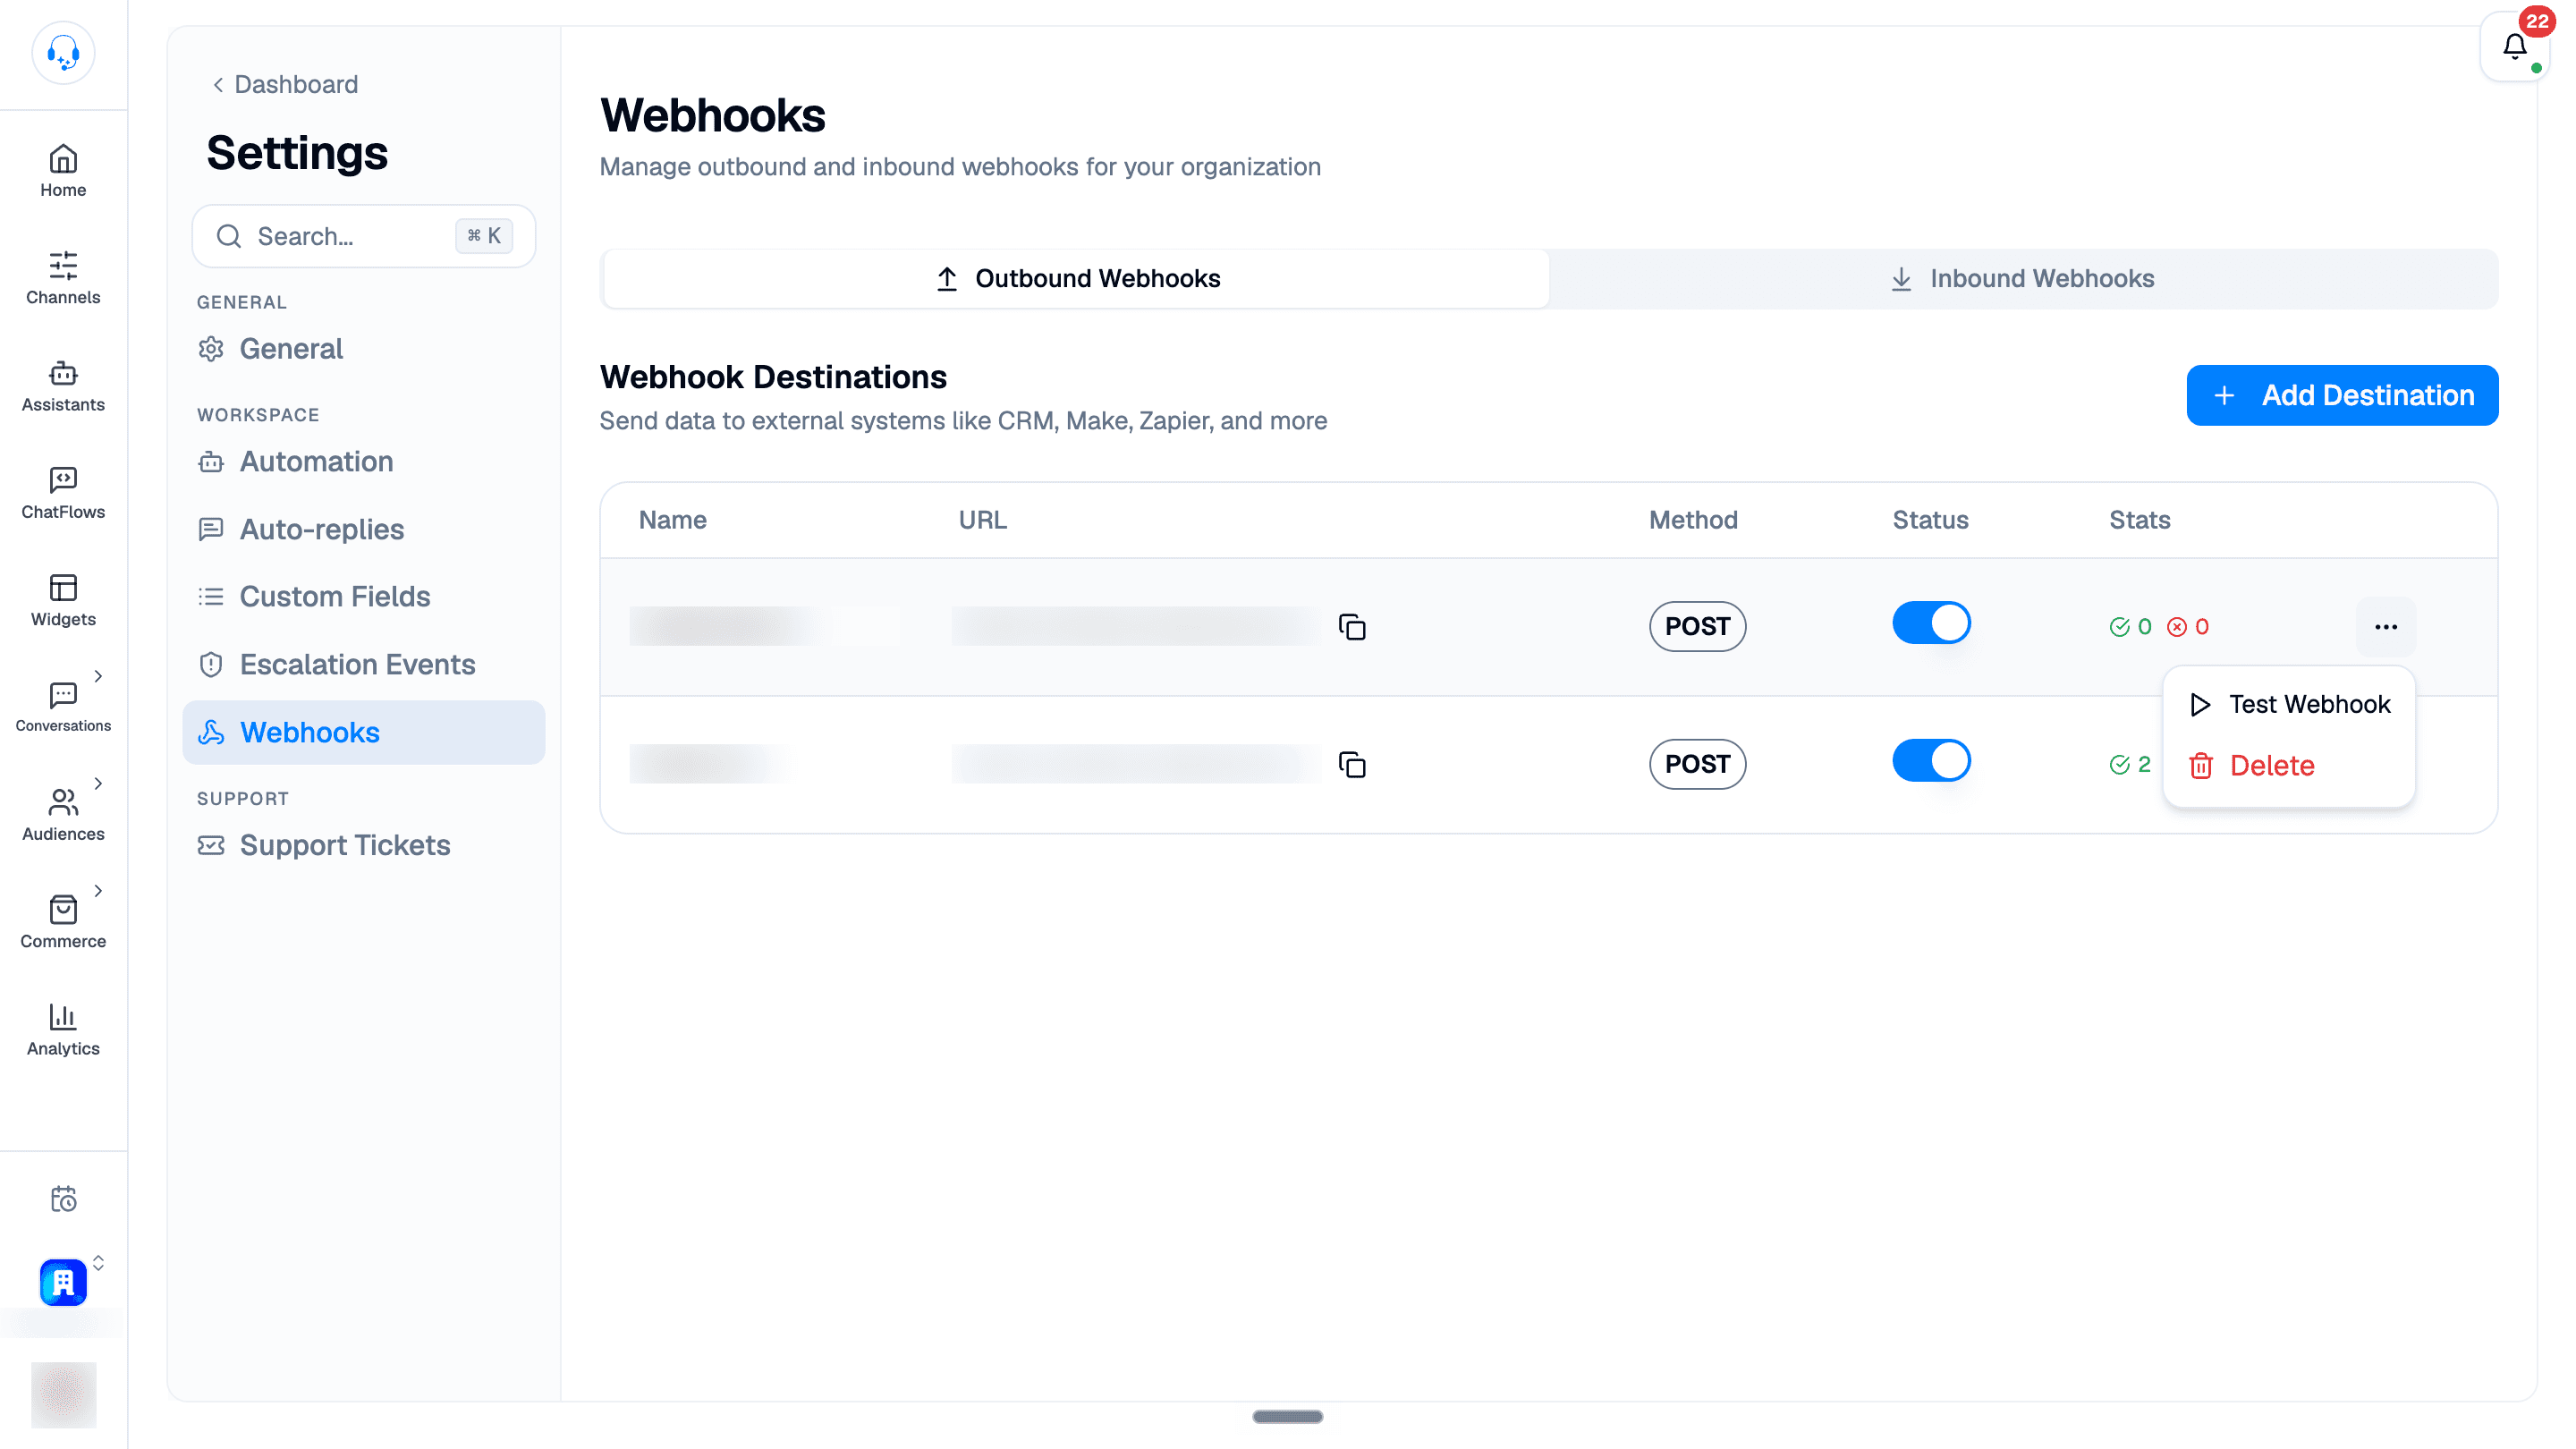
Destinations appear in a table showing the URL, method, an on/off status toggle, and delivery stats (success and failure counts). Open a row's three-dot menu to choose Test Webhook to fire a test delivery, or Delete to remove the destination. Send test deliveries only to an endpoint you control.
Inbound webhooks: trigger Intelli from outside
Inbound webhooks give you a URL that an external system (Cal.com, Zapier, Make, your own backend) can call to start a chatbot flow or send a template message to a contact.
Creating an inbound webhook
- On the Inbound Webhooks tab, click Create Webhook.
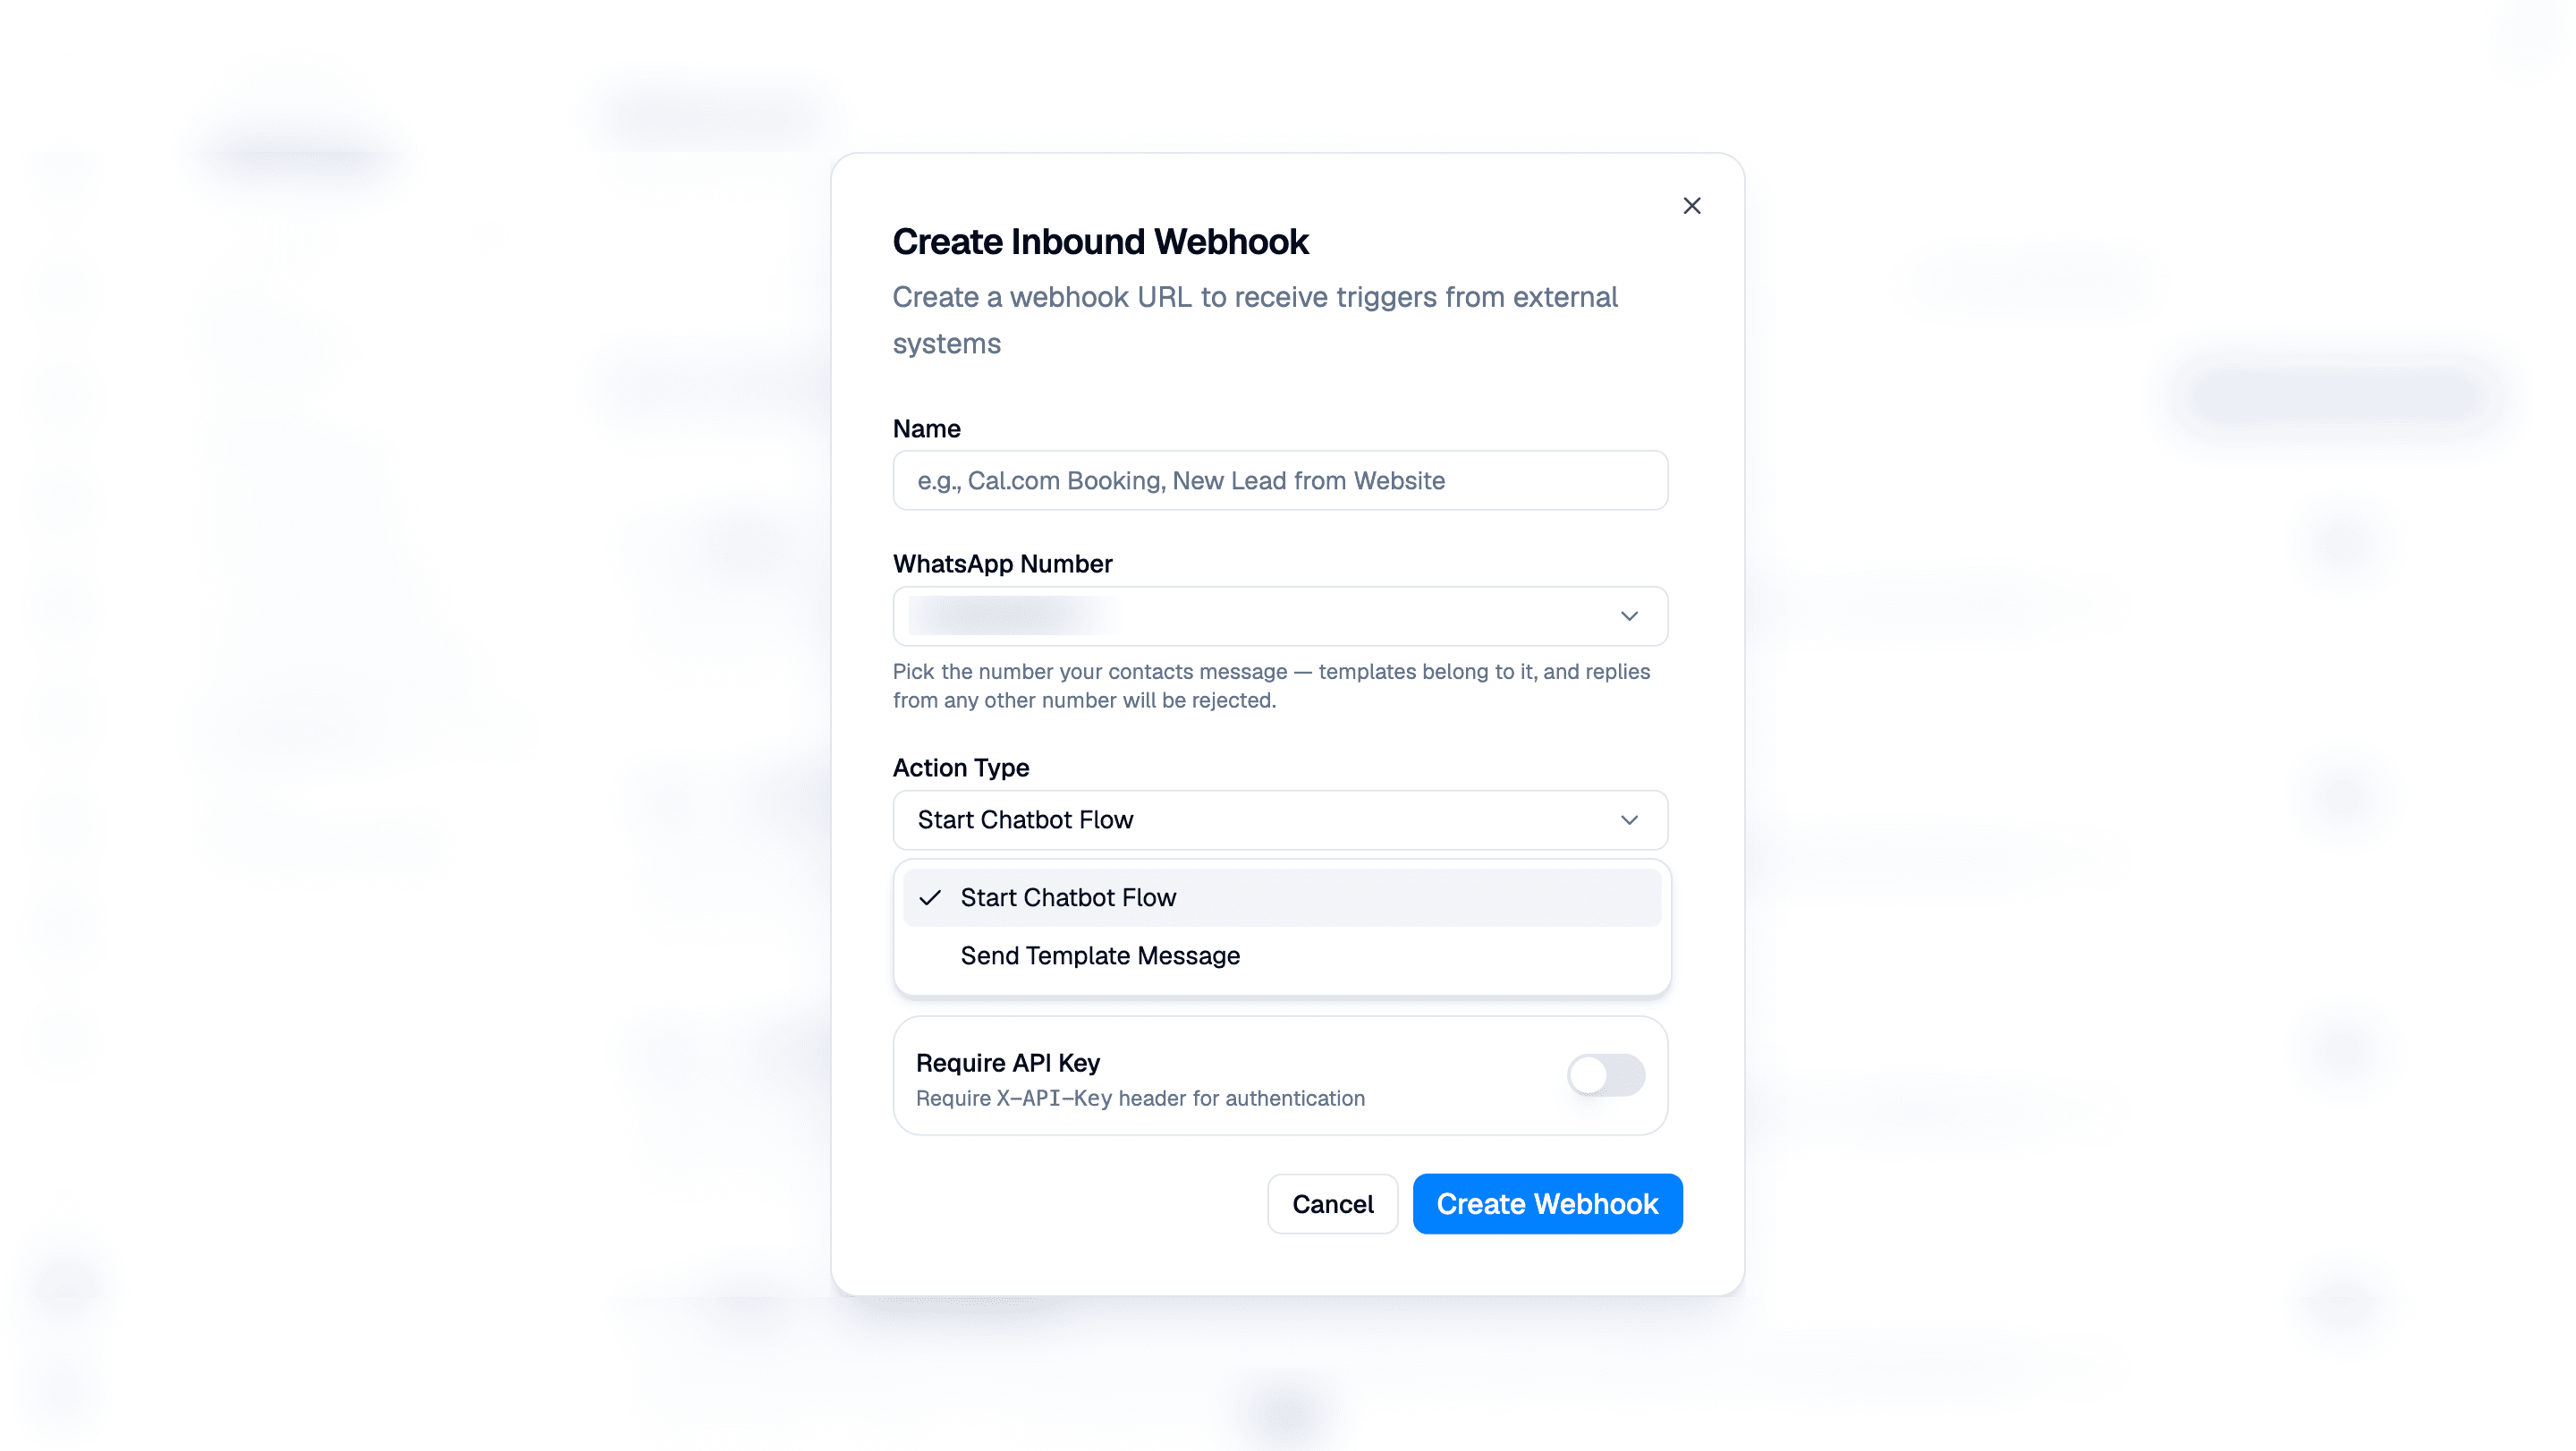
- In the Create Inbound Webhook dialog, fill in:
- Name: e.g. "Cal.com Booking" or "New Lead from Website".
- WhatsApp Number: which of your numbers the action uses. Pick the number your contacts message; templates belong to it, and replies from any other number are rejected.
- Action Type: Start Chatbot Flow or Send Template Message.
- Depending on the action, pick the Chatbot Flow to start, or the Template to send (approved templates only).
- Require API Key (optional): when on, callers must send an
X-API-Keyheader. The key is generated after creation.
- Click Create Webhook.
The Webhook Created Successfully dialog shows the webhook URL to paste into your third-party service. If you required authentication, the API key. Save the key immediately: it is not shown again (though you can Copy API Key or Regenerate API Key later from the webhook's menu).
Mapping the payload: Configure Webhook
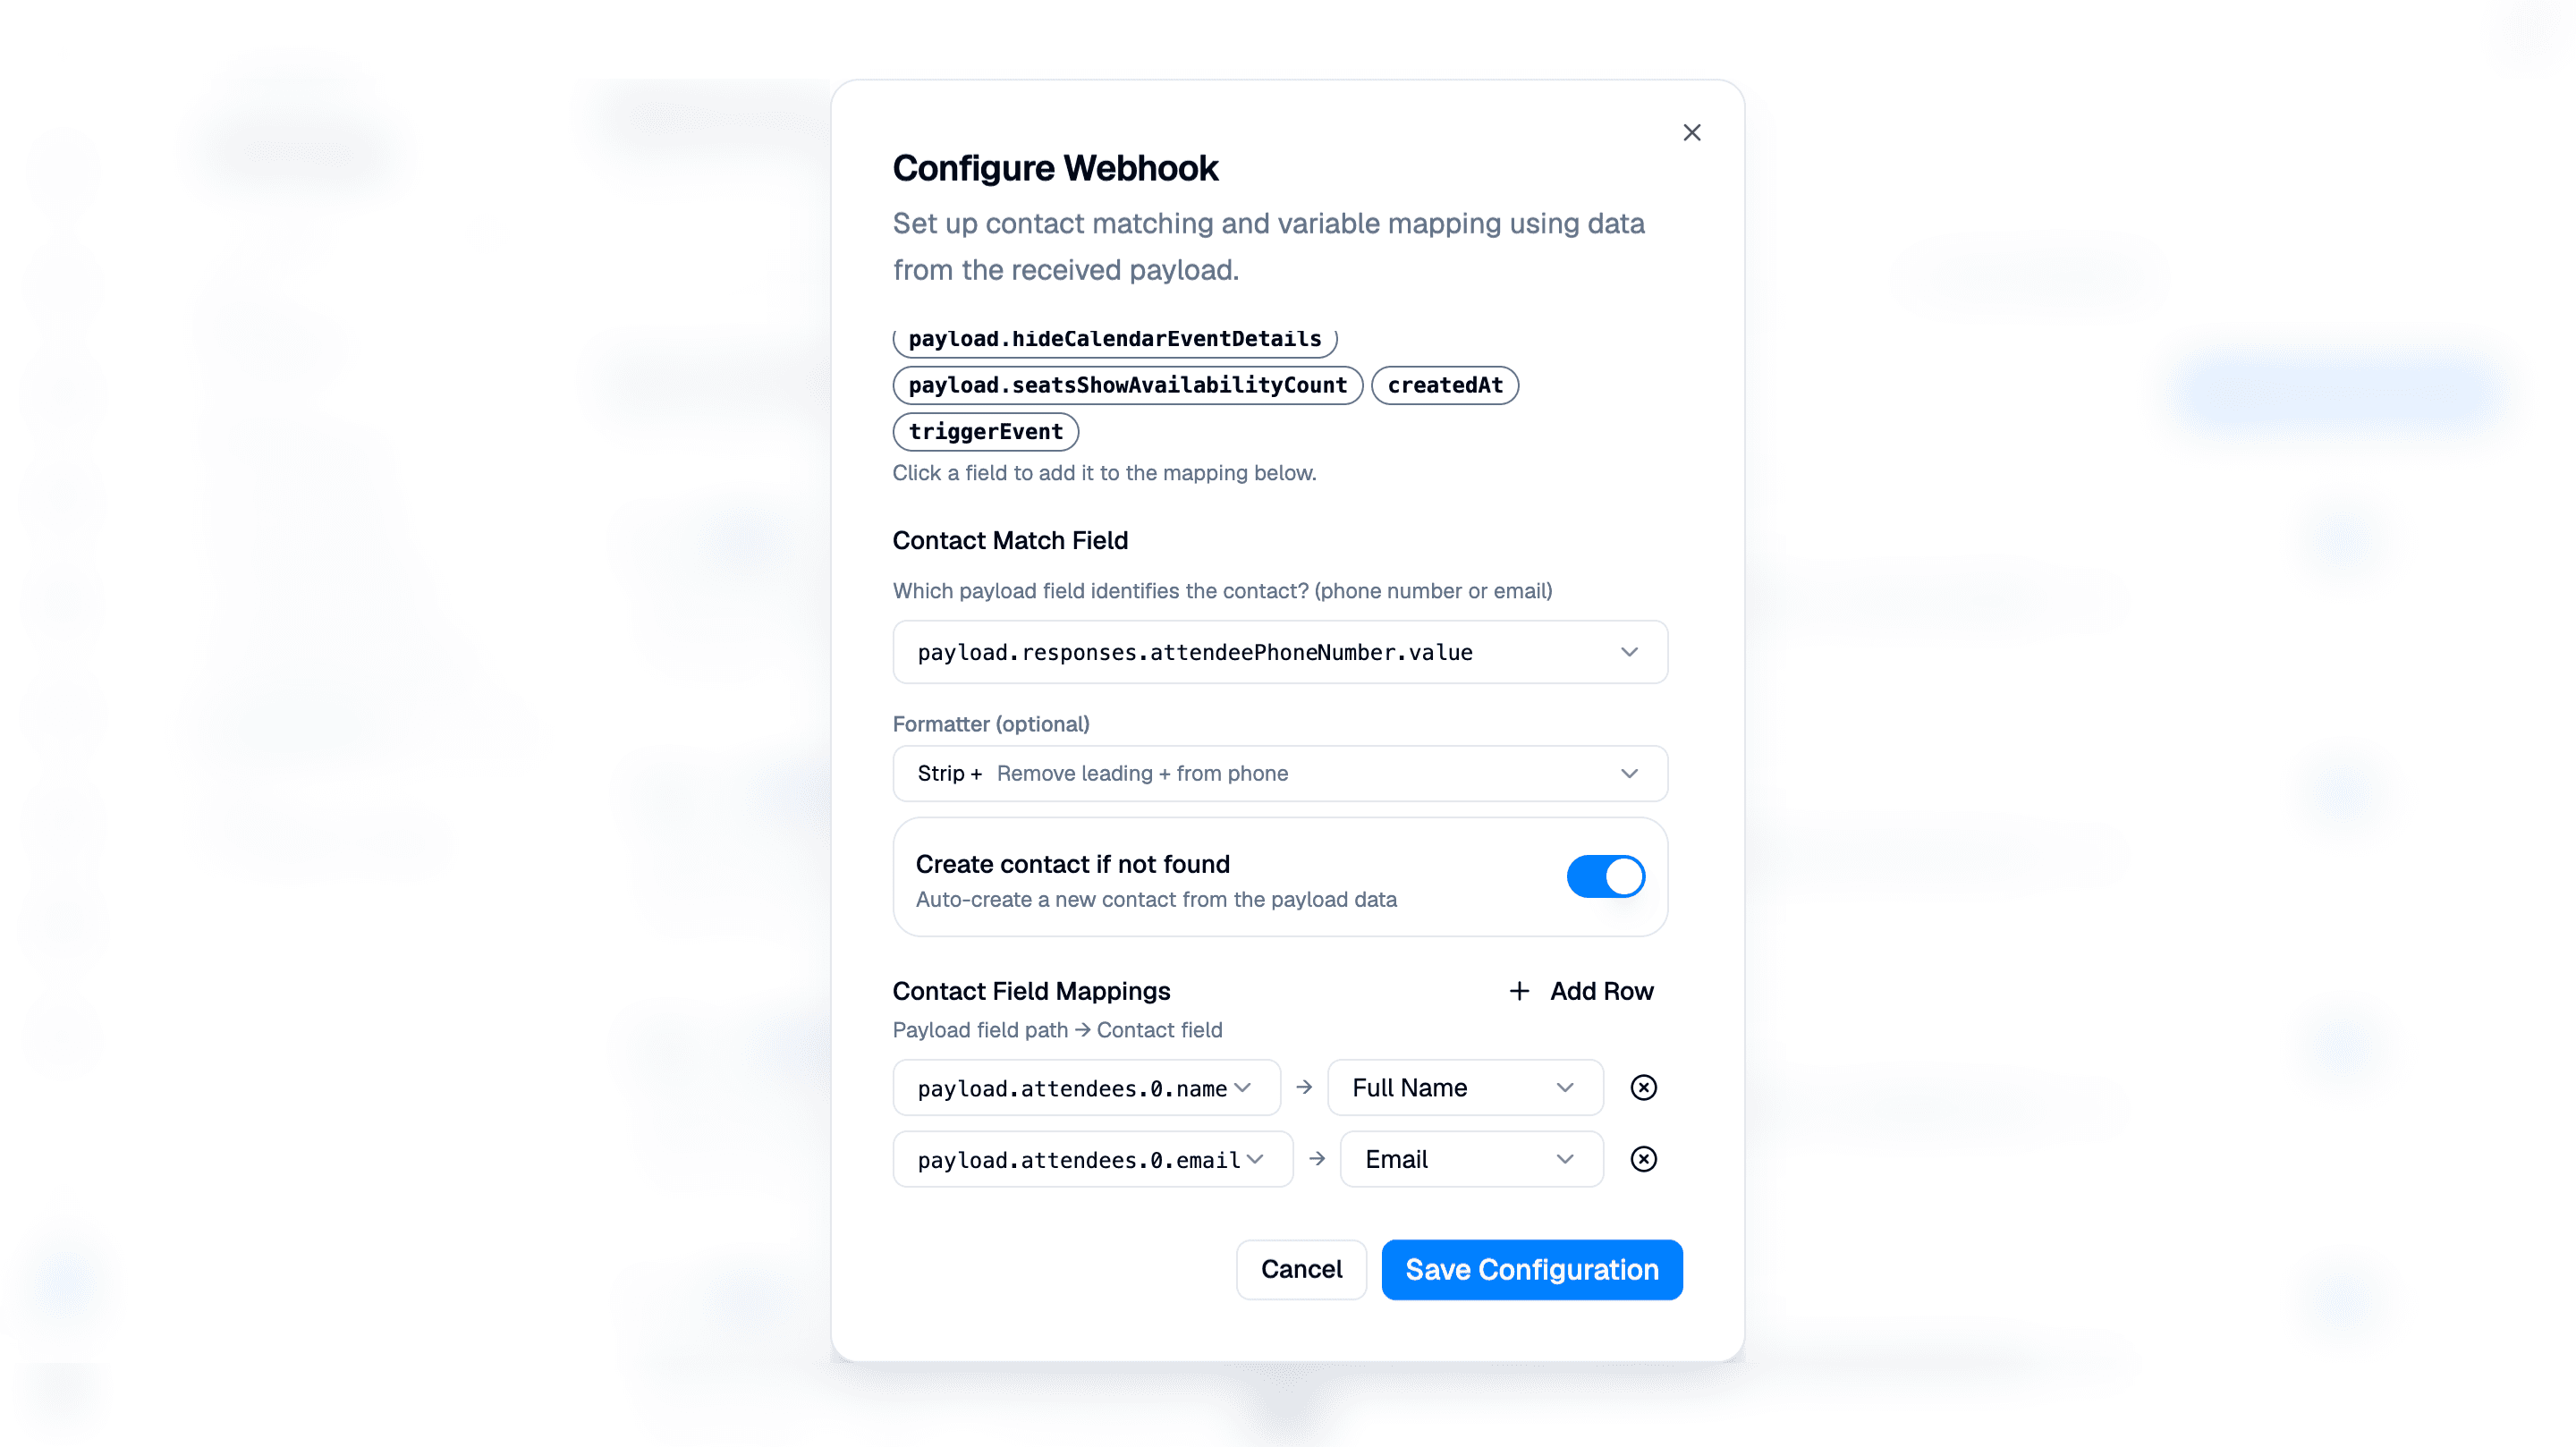
Intelli needs to know which contact an incoming payload is about. Open a webhook's menu and choose Configure Webhook:
- Detected payload fields: after the first request arrives, the dialog lists the fields it found; click one to add it to a mapping. If nothing has arrived yet, send a test request from your external service first.
- Contact Match Field: pick (or type) the payload path that
identifies the contact, e.g.
attendees.0.emailorphone_number. An optional formatter can clean the value up. - Create contact if not found: toggle on to auto-create a new contact from the payload data when no match exists.
- Mappings: for Send Template Message, map template variable numbers to payload field paths; for Start Chatbot Flow, map payload fields to contact fields.
Click Save Configuration when the contact matching and mappings are ready.
Testing and logs
Each inbound webhook's menu also offers Test Webhook and View Logs. Test only with a contact and WhatsApp number you control, since the webhook can start a flow or send a template message.
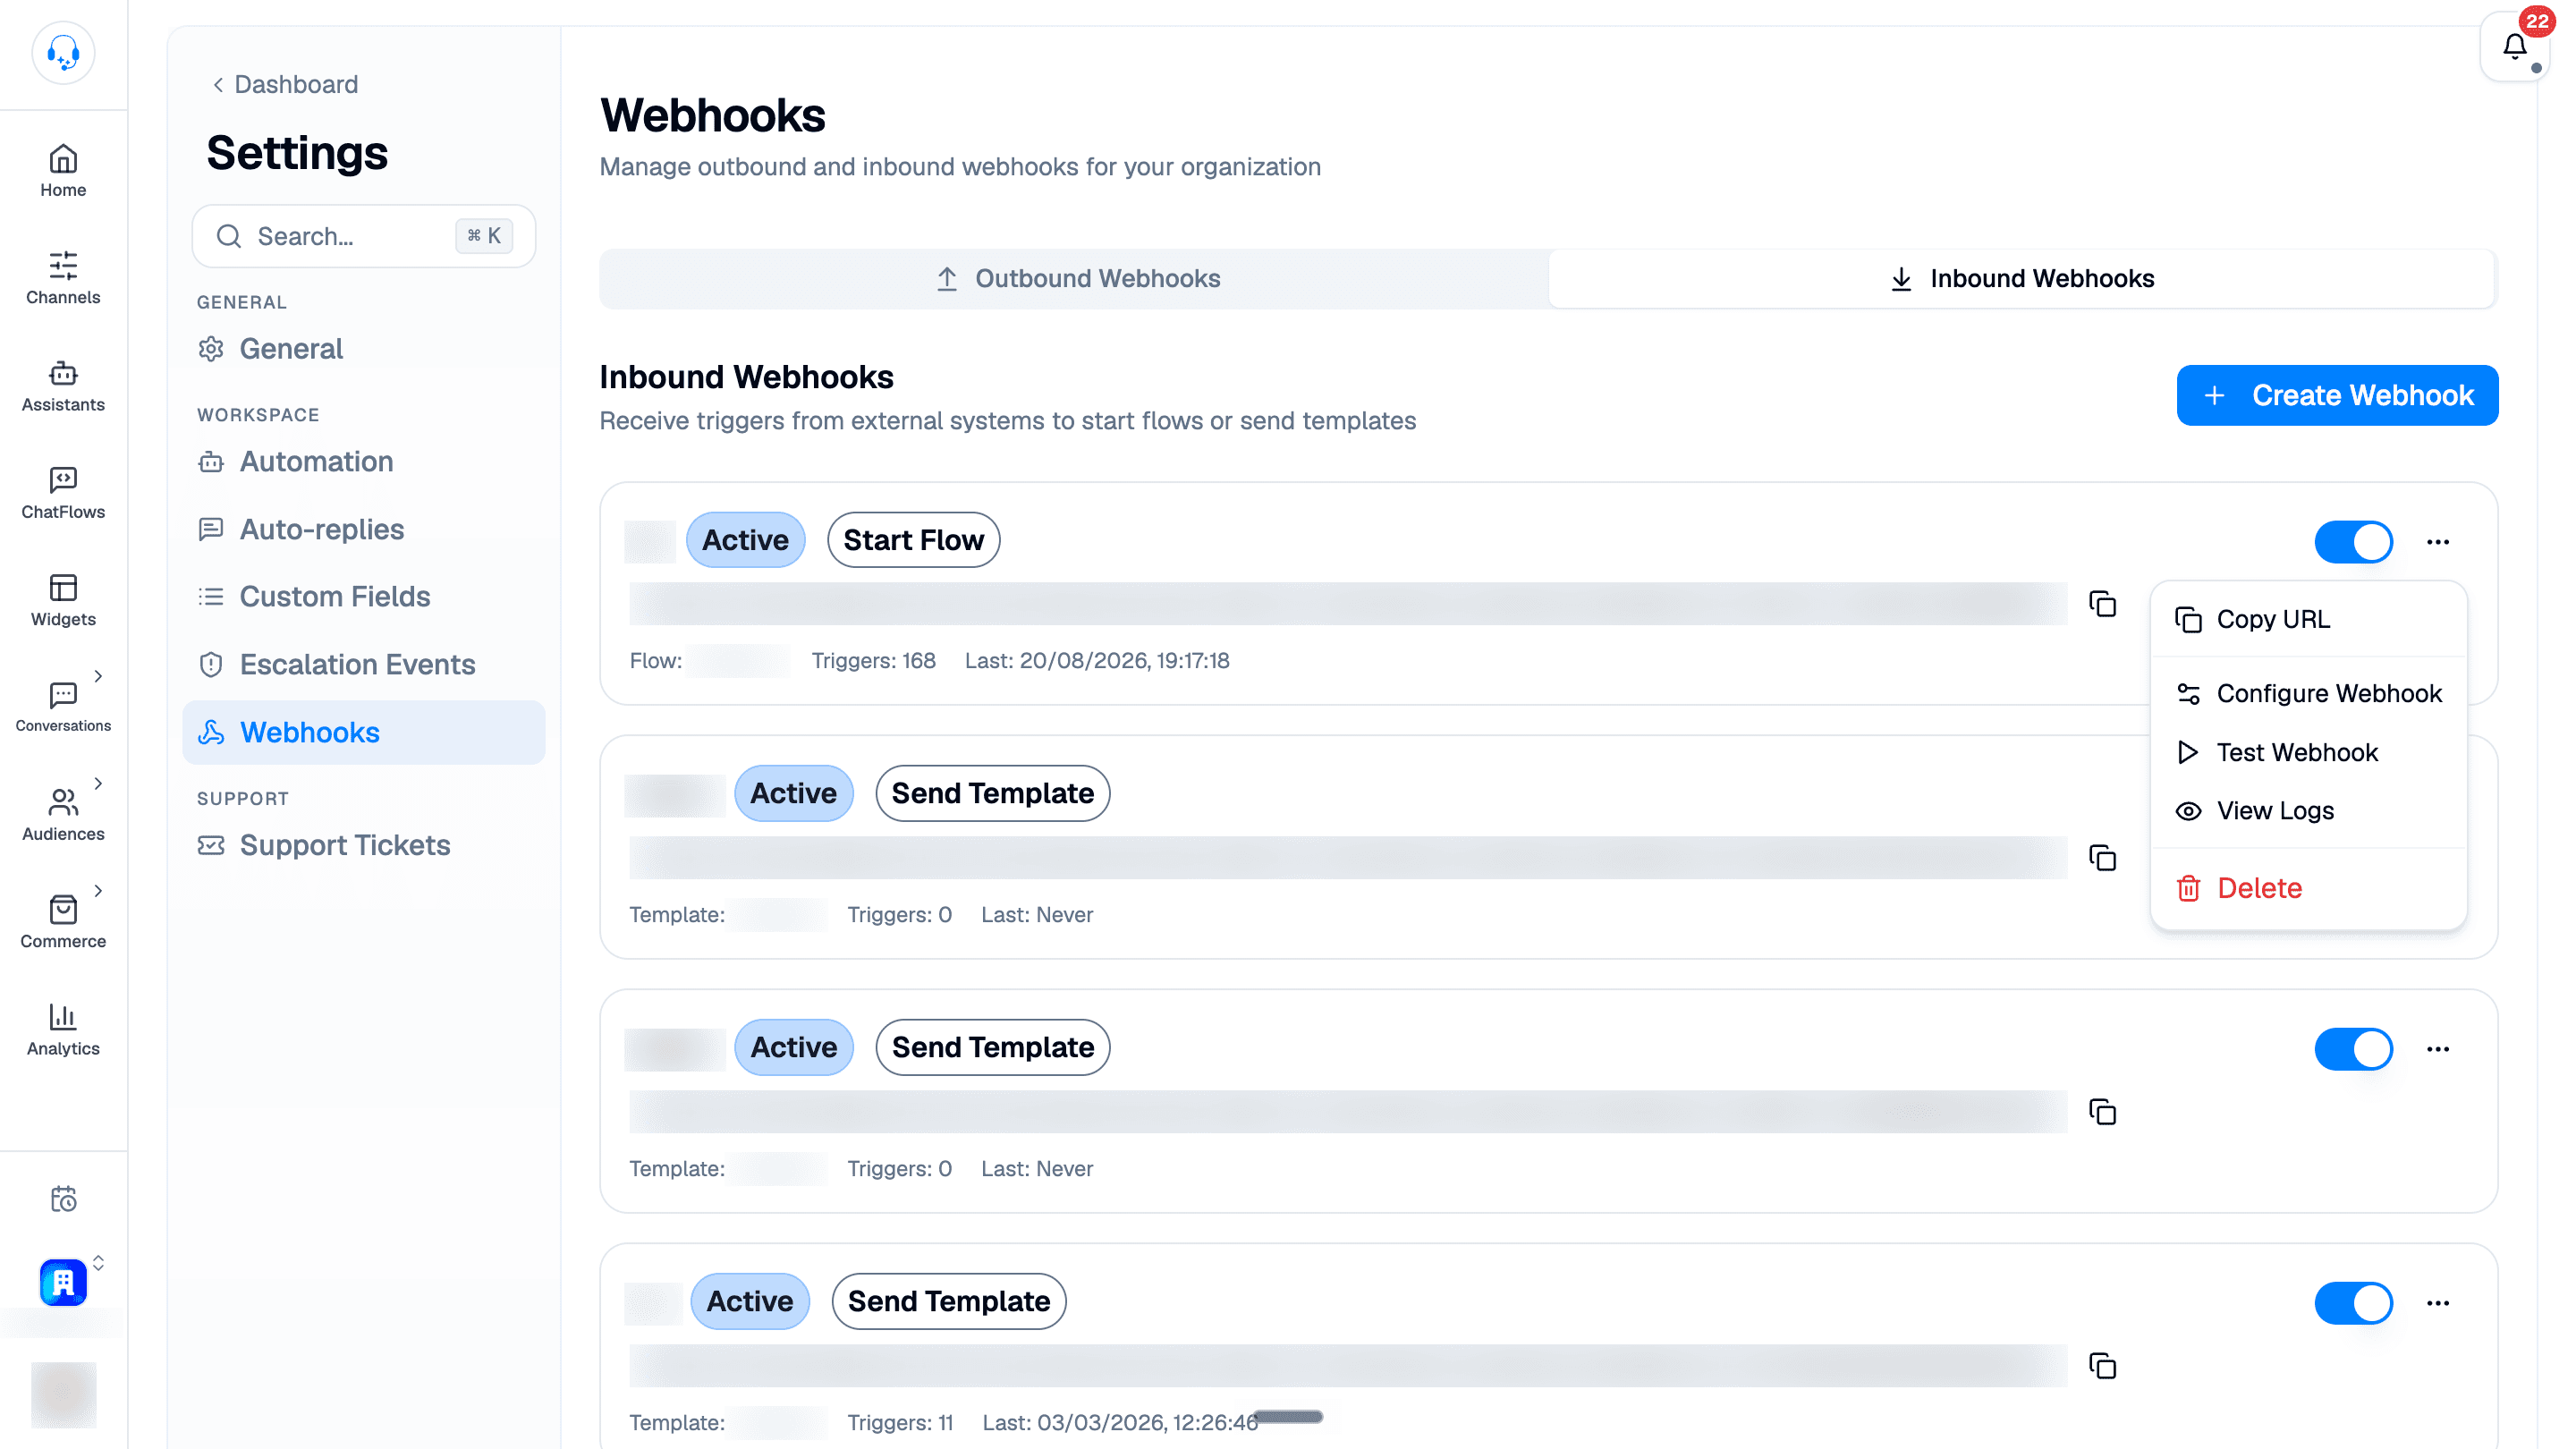
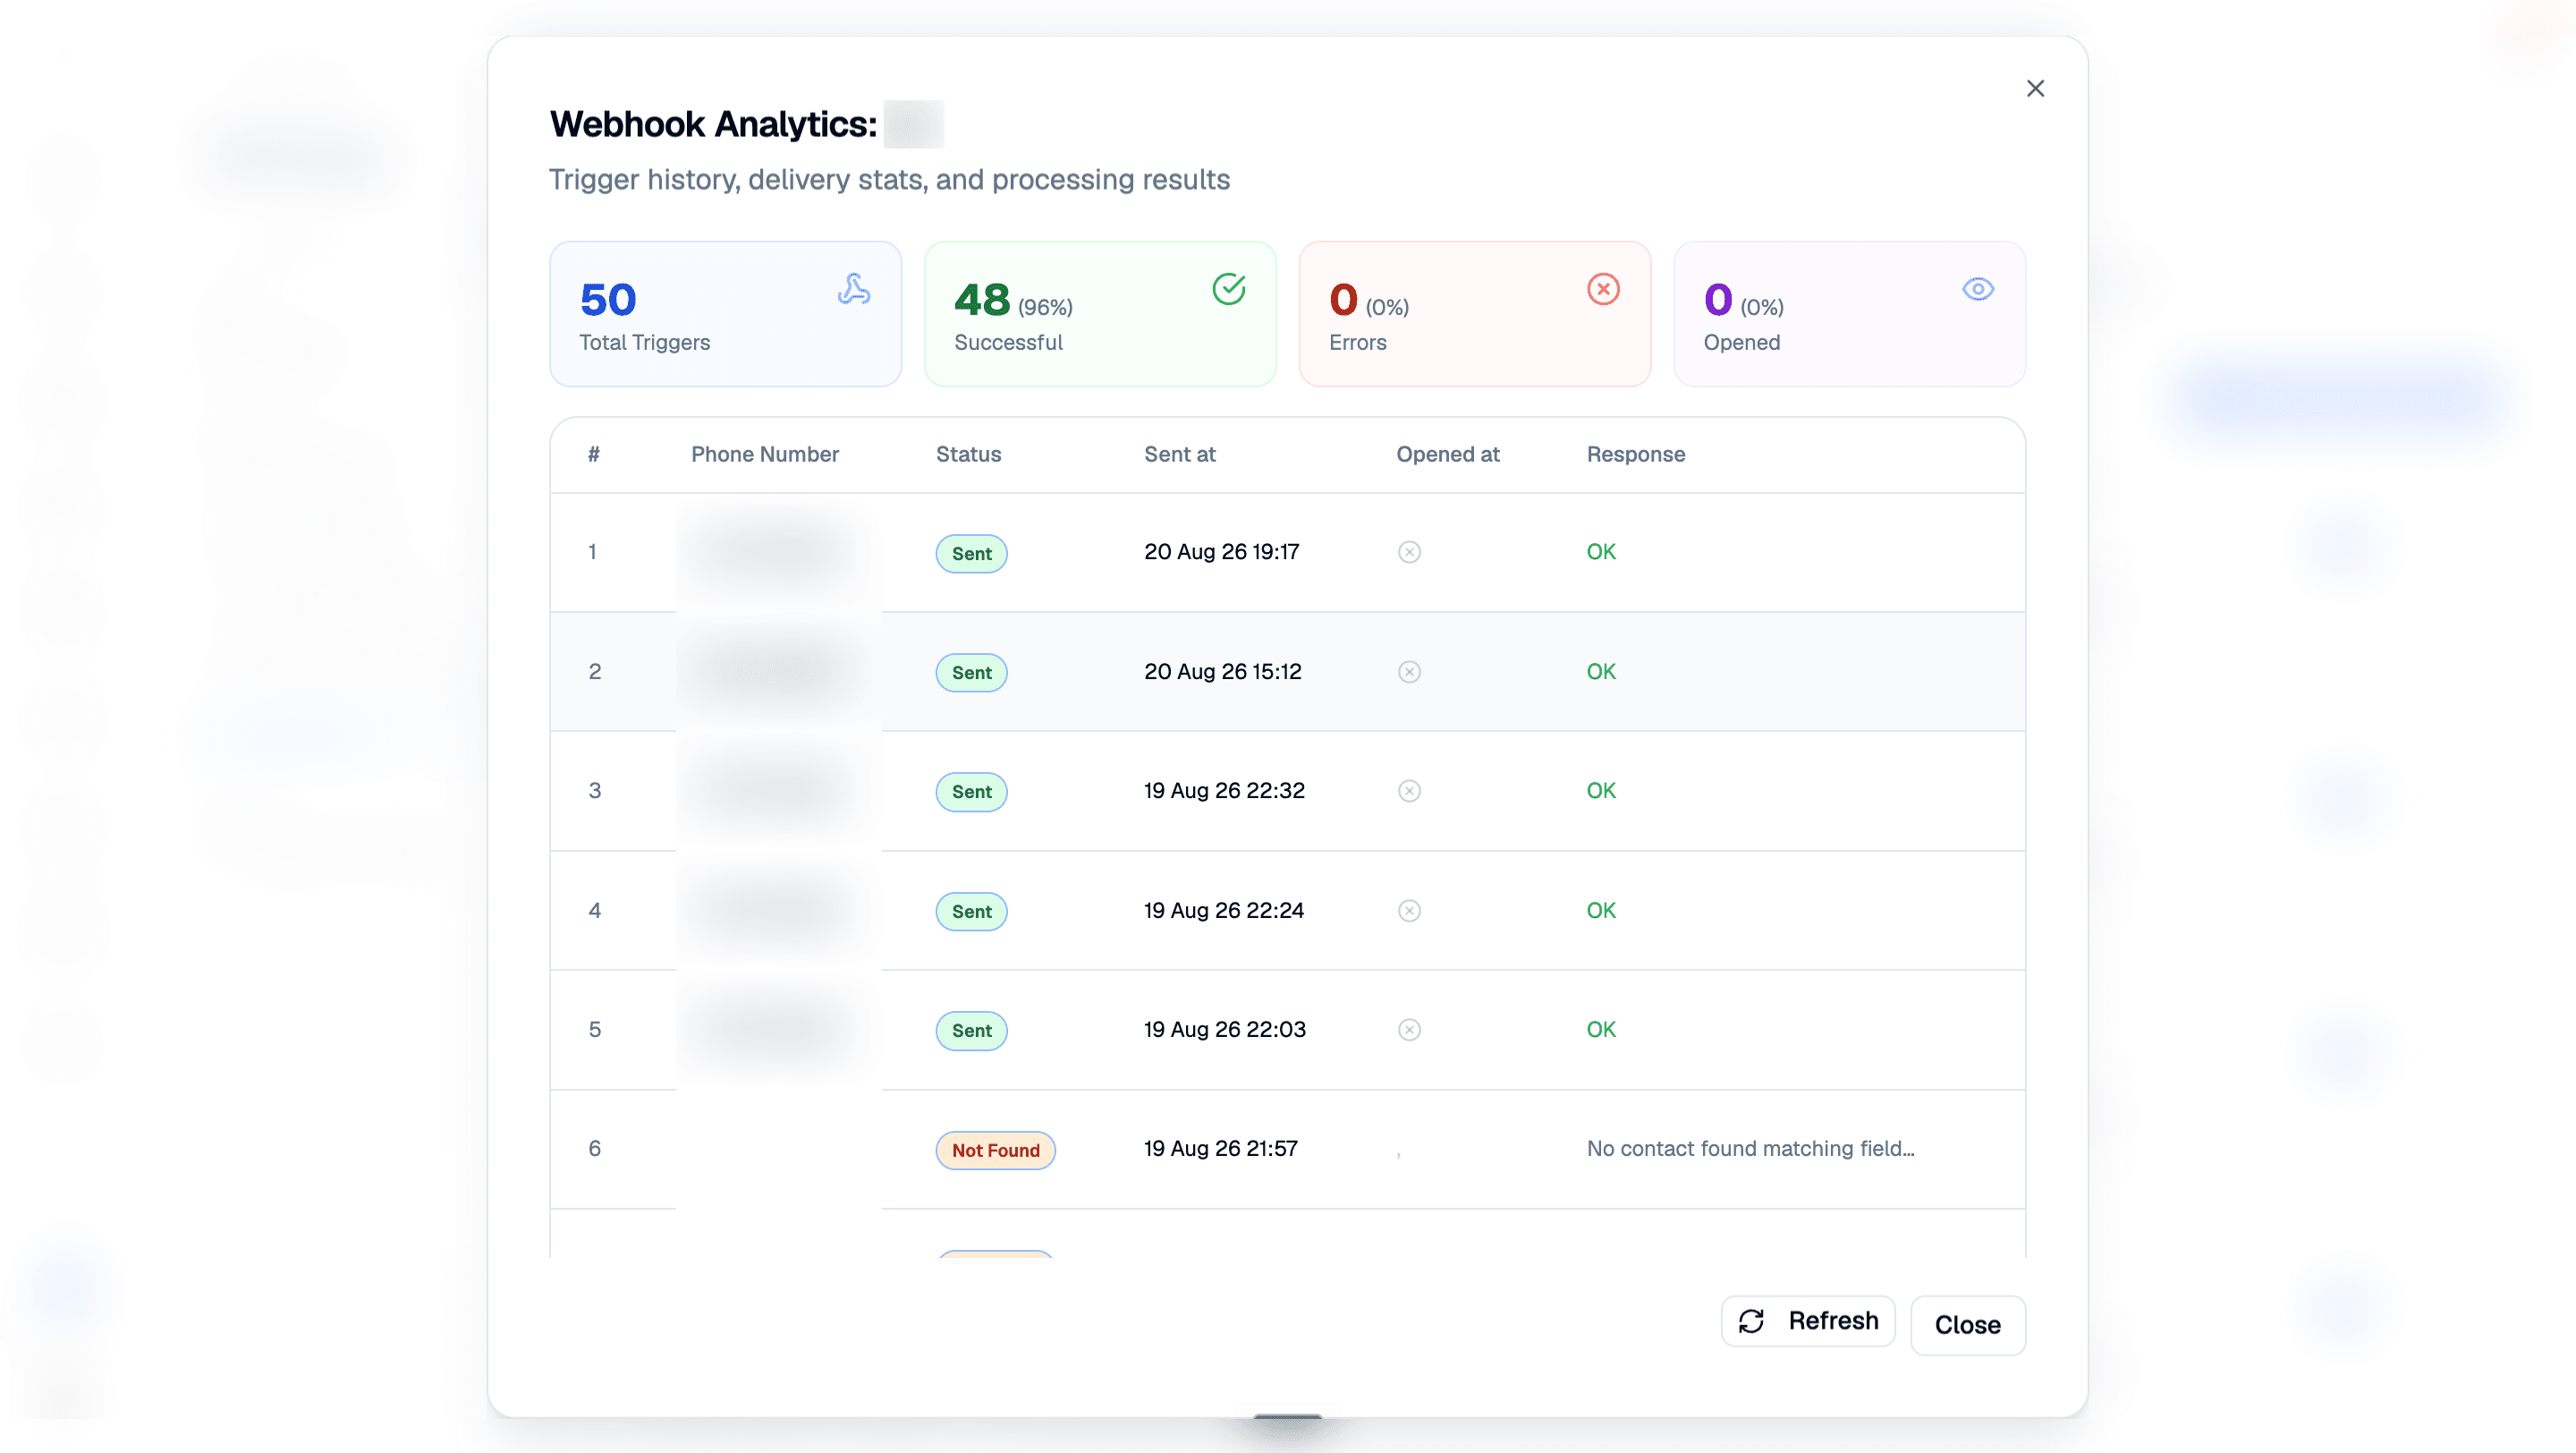
The logs dialog (Webhook Analytics) shows trigger history, delivery stats, and processing results, so you can see exactly what each call did. Click Refresh to load the latest results.